Mastering UI Design: Your Step-by-Step Journey Begins Here
The guide takes you through essential steps for UI design, covering user flows, wireframing, and extensive research needed to craft stunning high-fidelity designs.
TLDR
- 1
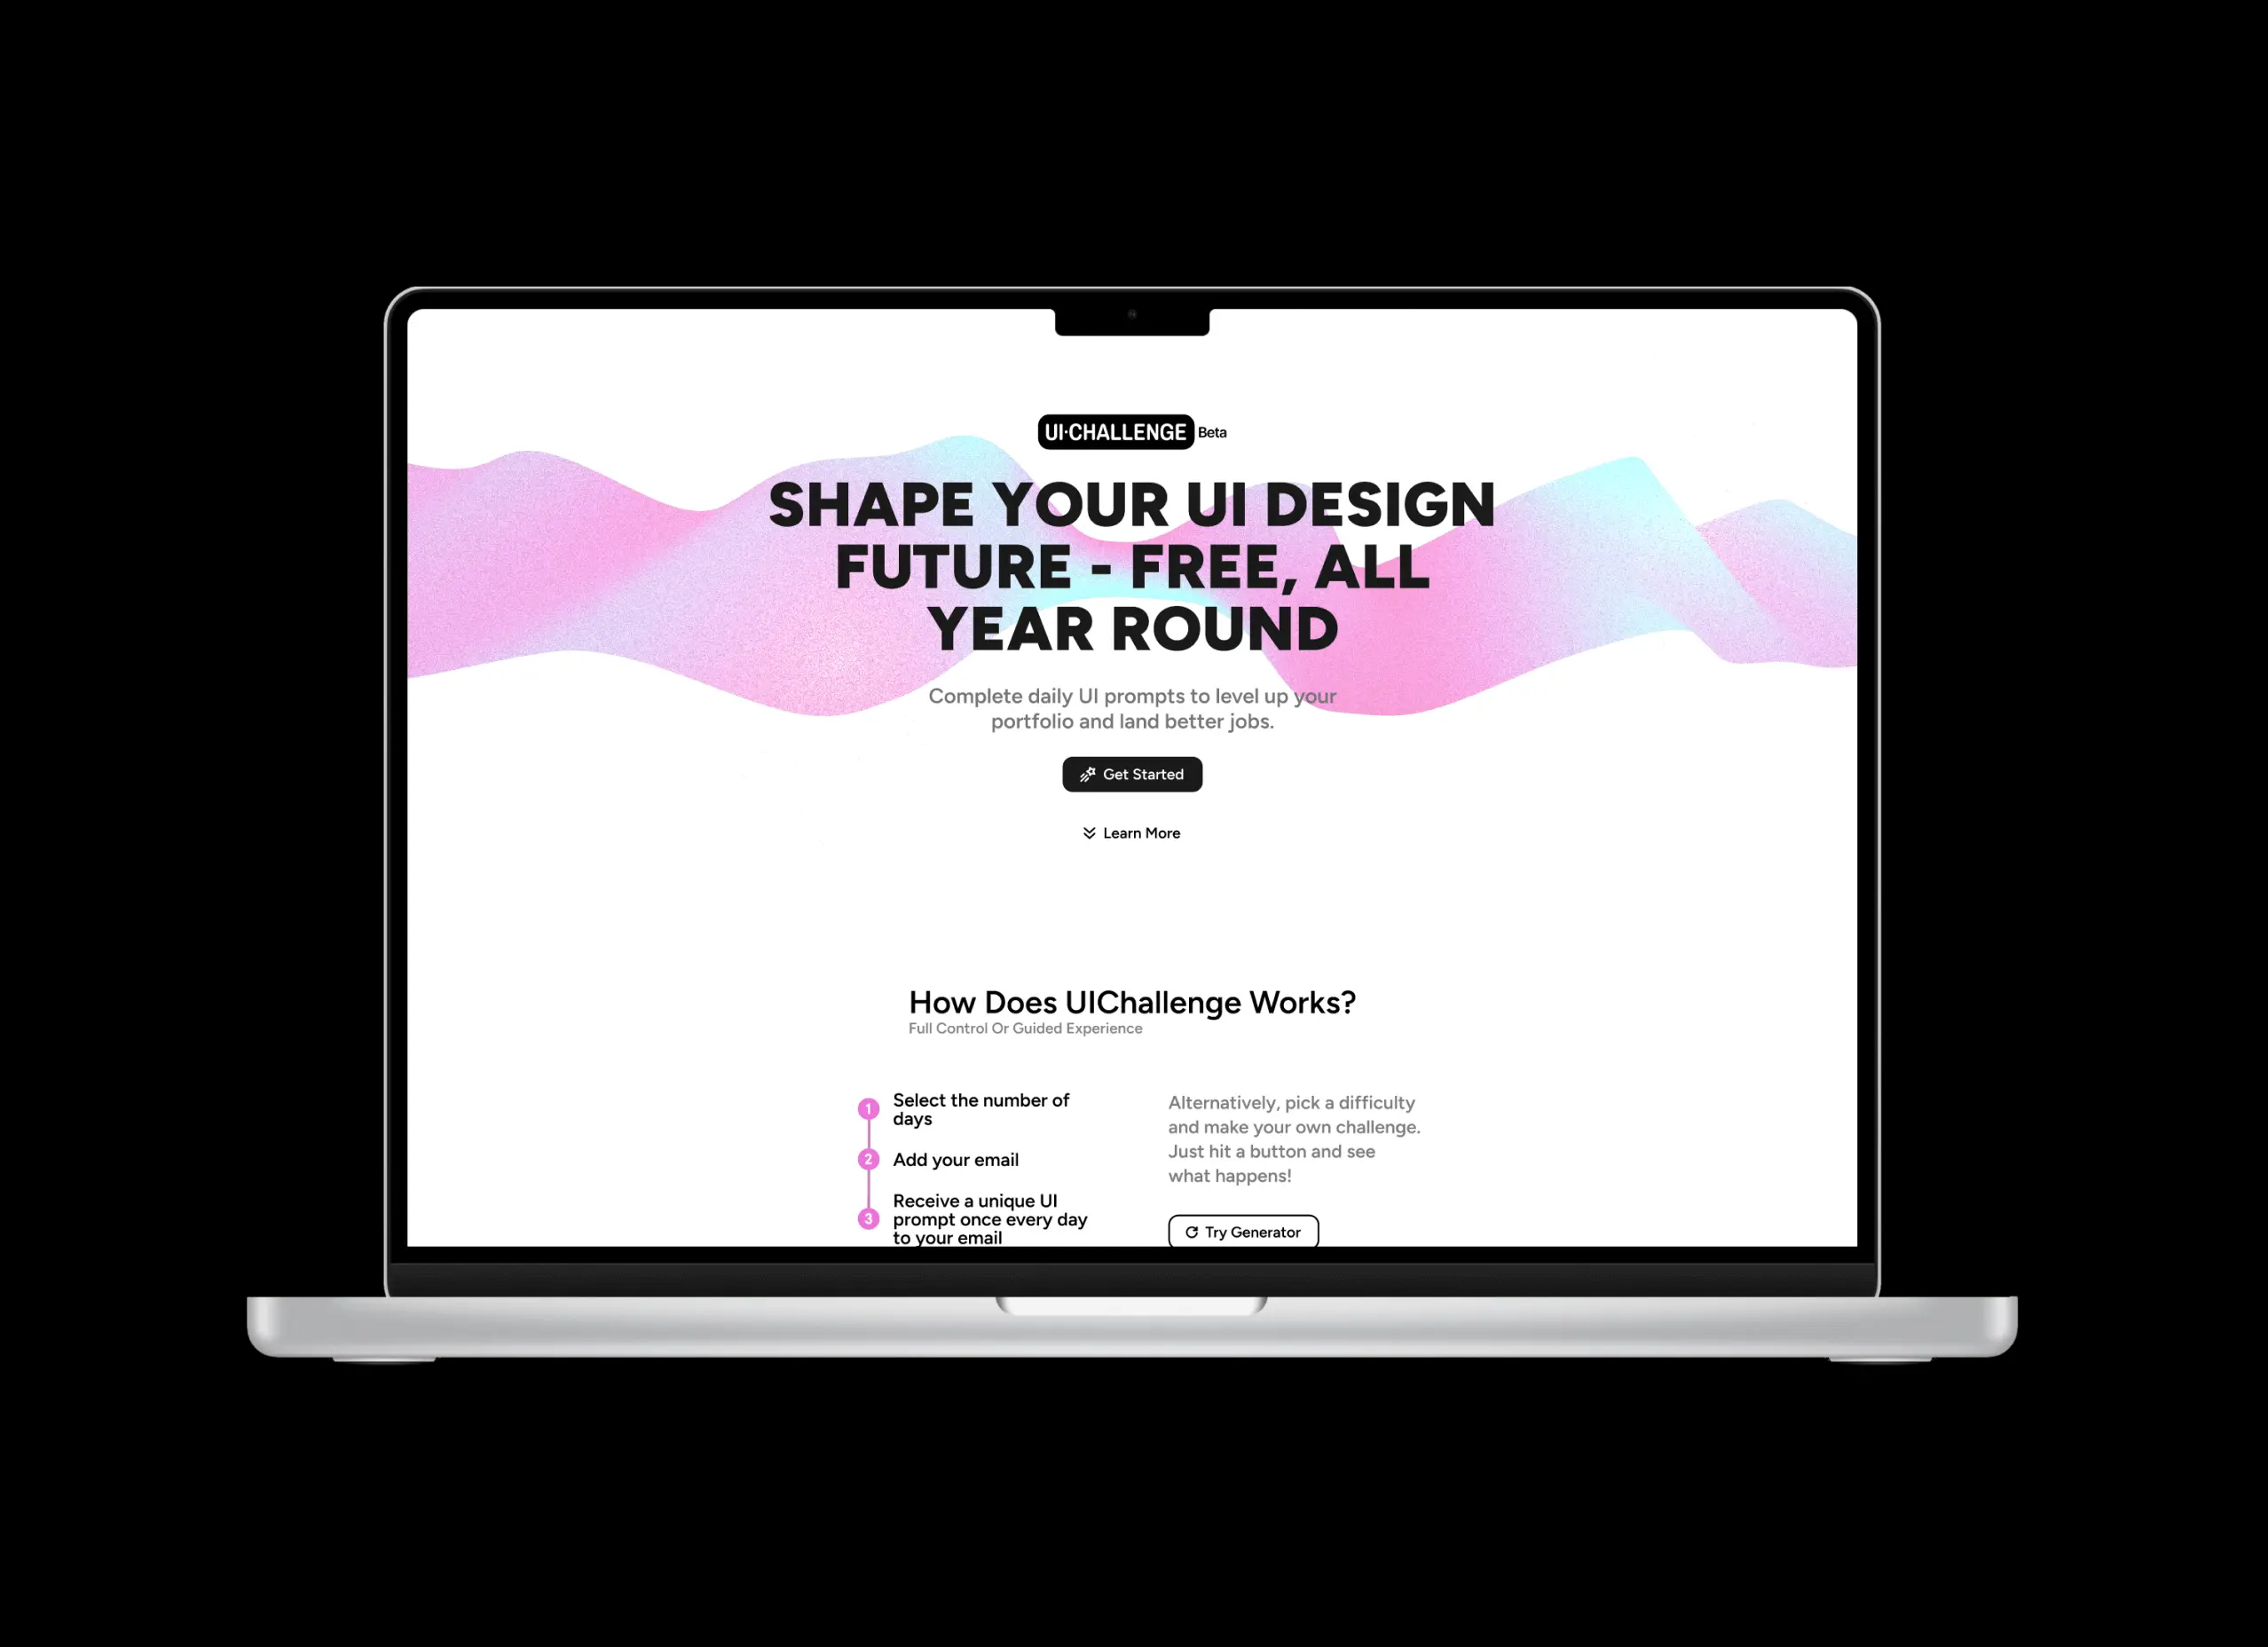
Generate a UI Challenge
You can do it through a Manual Challenge or Schedule Challenge - 2
Open Figma
Figma is the most popular design tool at the moment see list. - 3Do the design magic
- 4
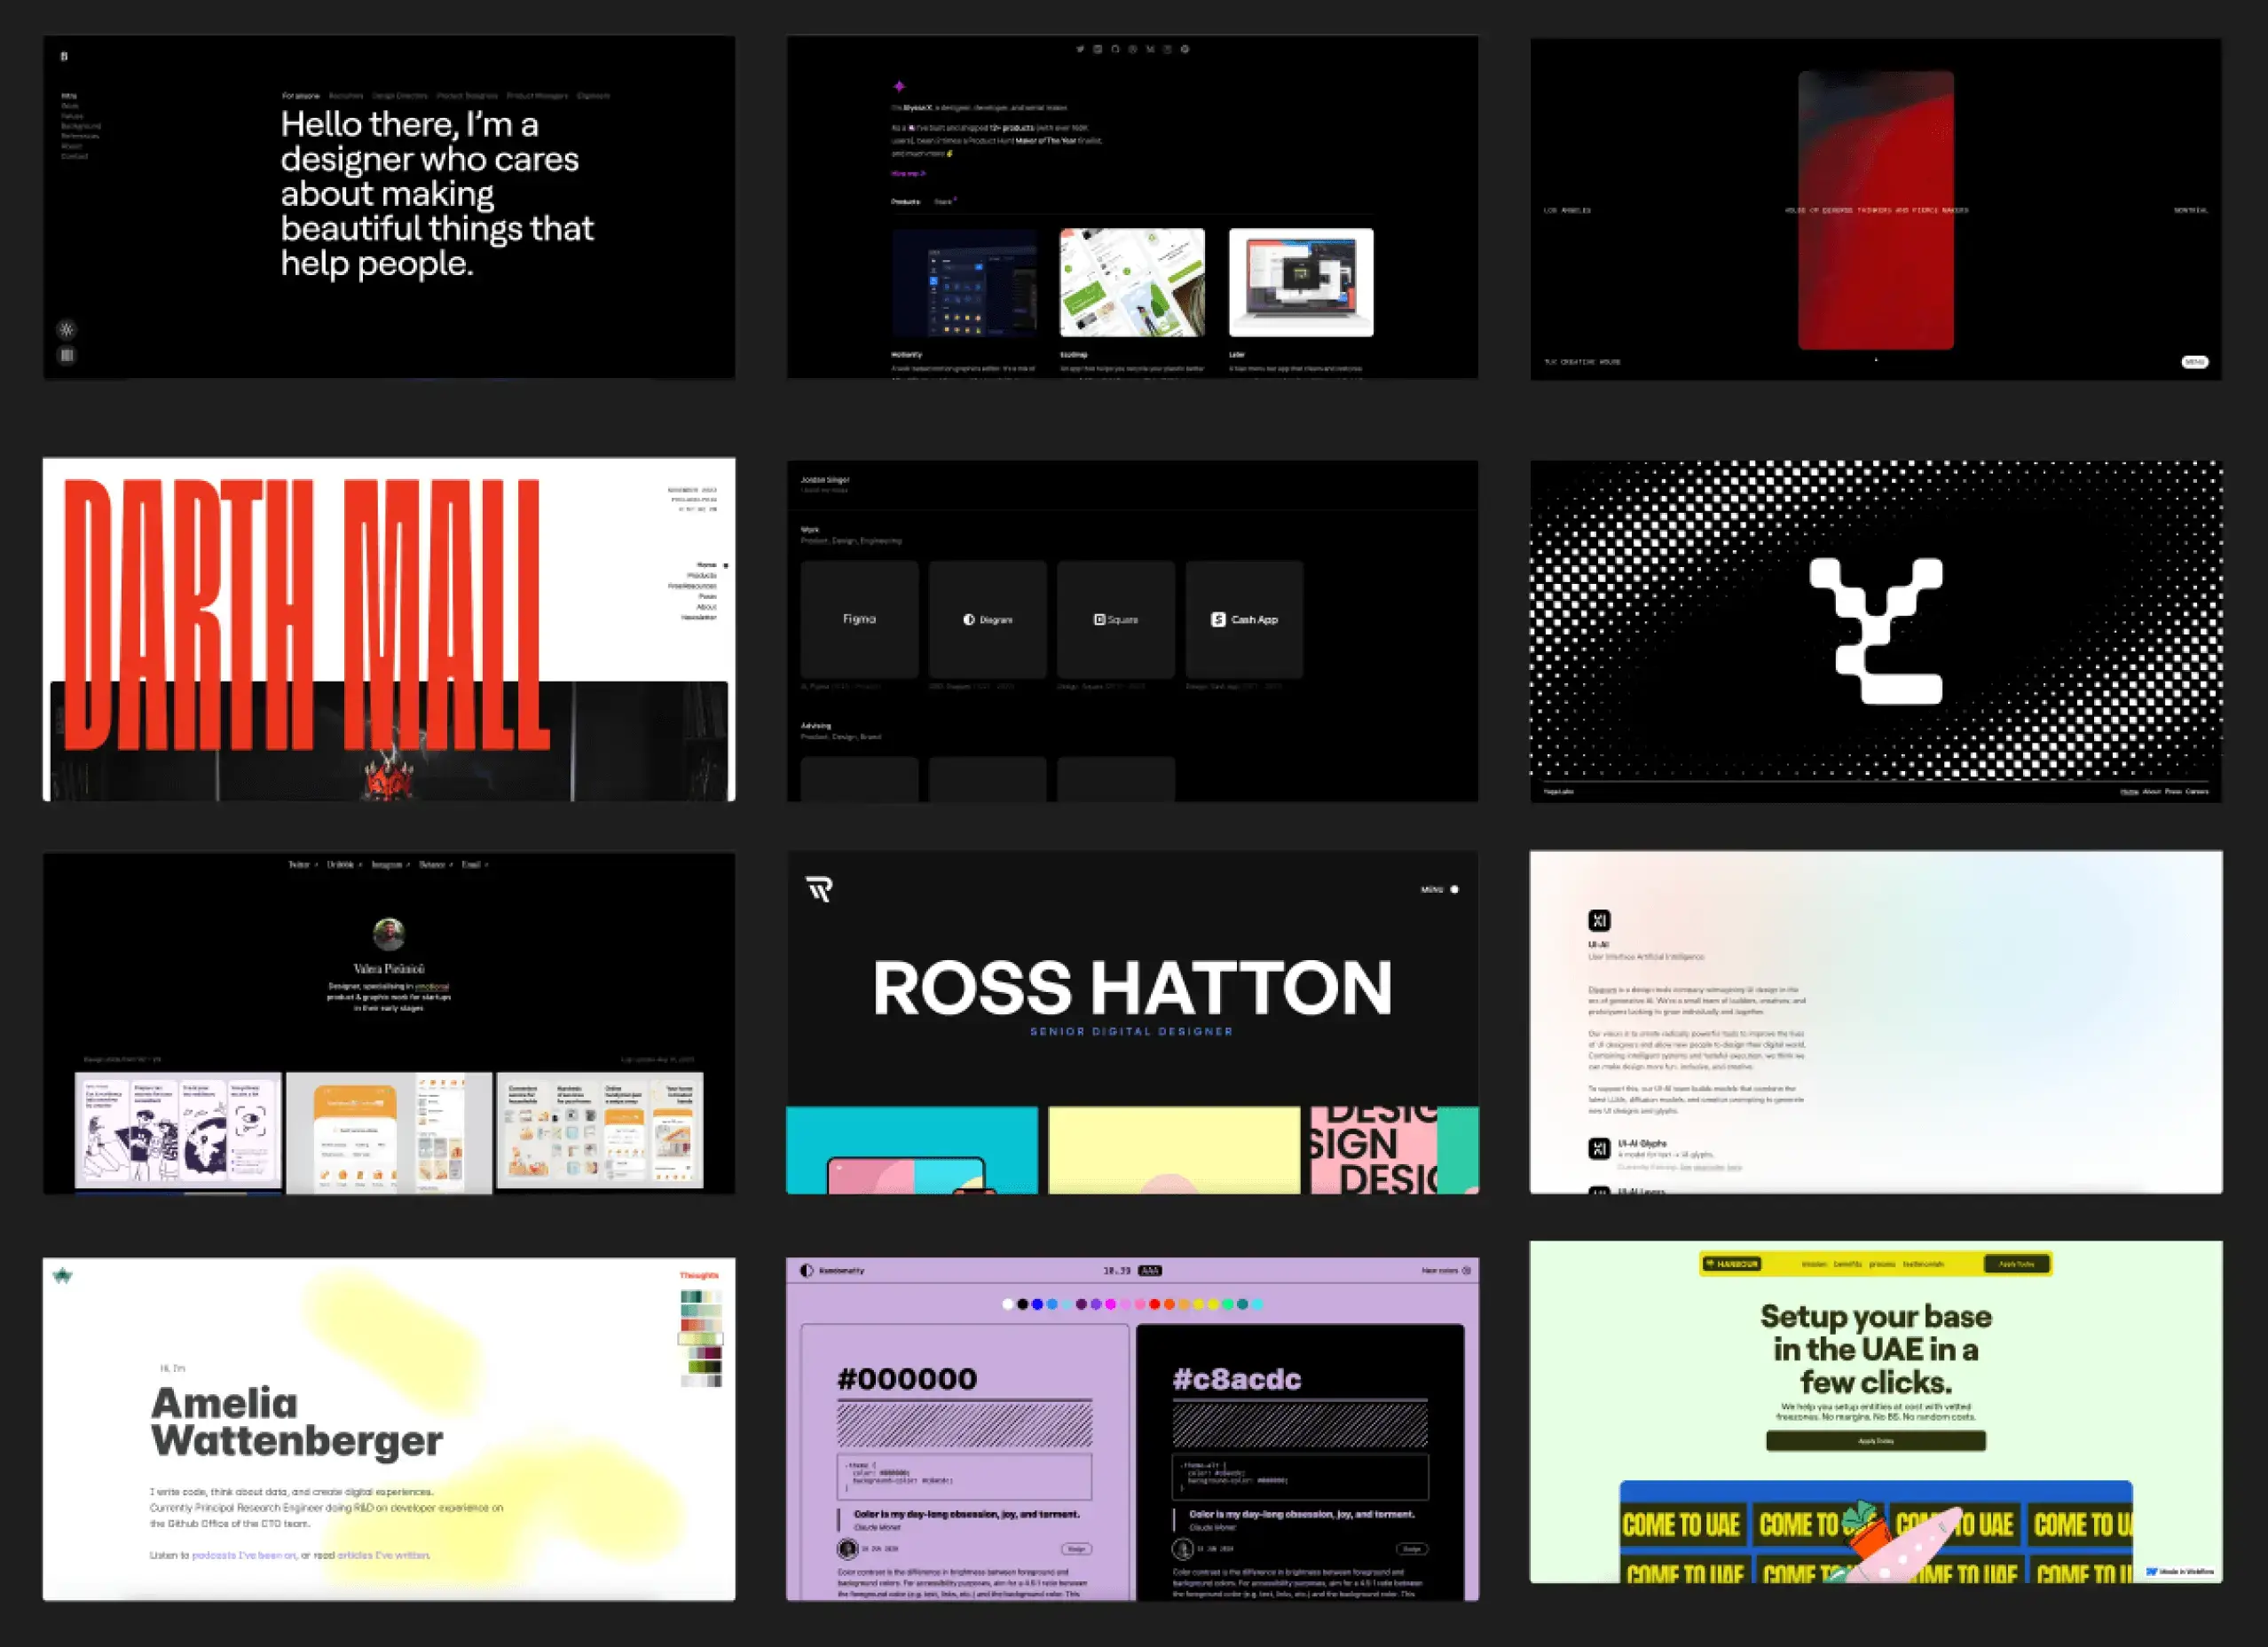
Share on your favorite social media
This could be Twitter, Dribbble, Behance, Reddit, or your personal site; choose a platform that aligns with your goals.
The guide to the design process for UI Challenges
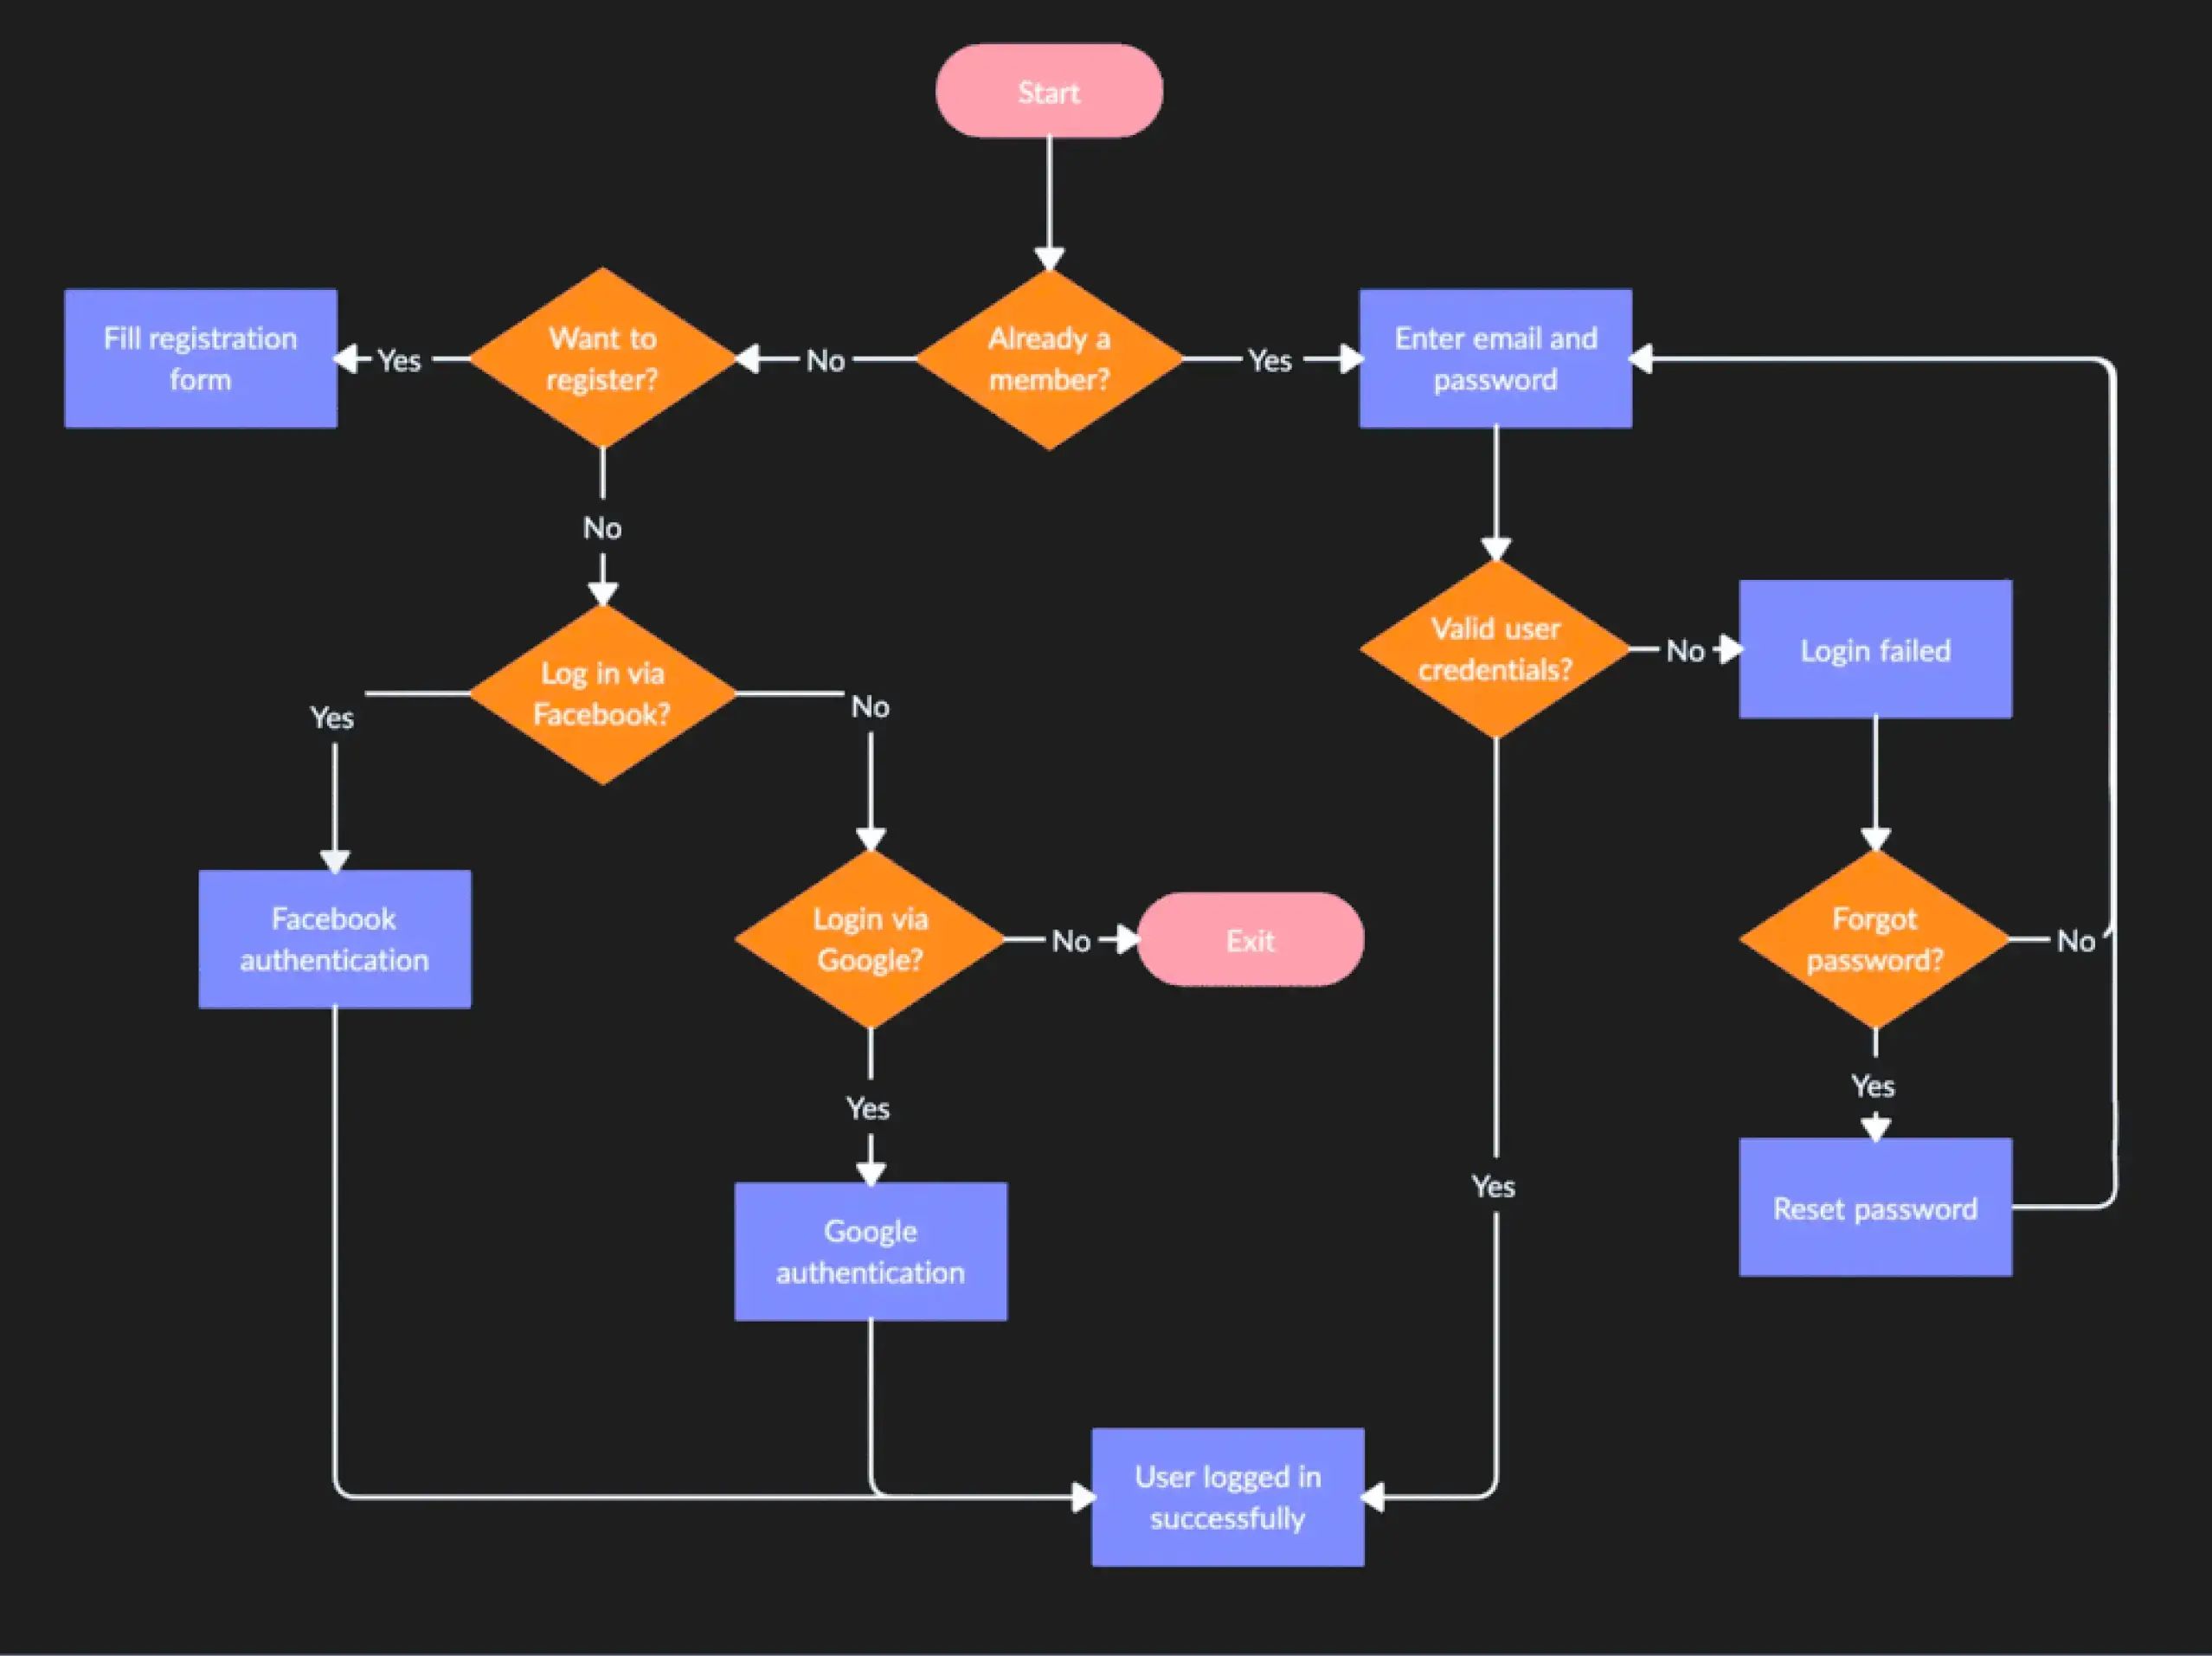
2. User flow
Sketch a basic outline of the user journey in FigJam or on a piece of paper
Trace the user's entry point and map out all possible actions and outcomes, like button clicks, hover effects, or disabled states. This brain dump approach helps visualize the entire user experience, ensuring all design functionalities are addressed.
More on user flows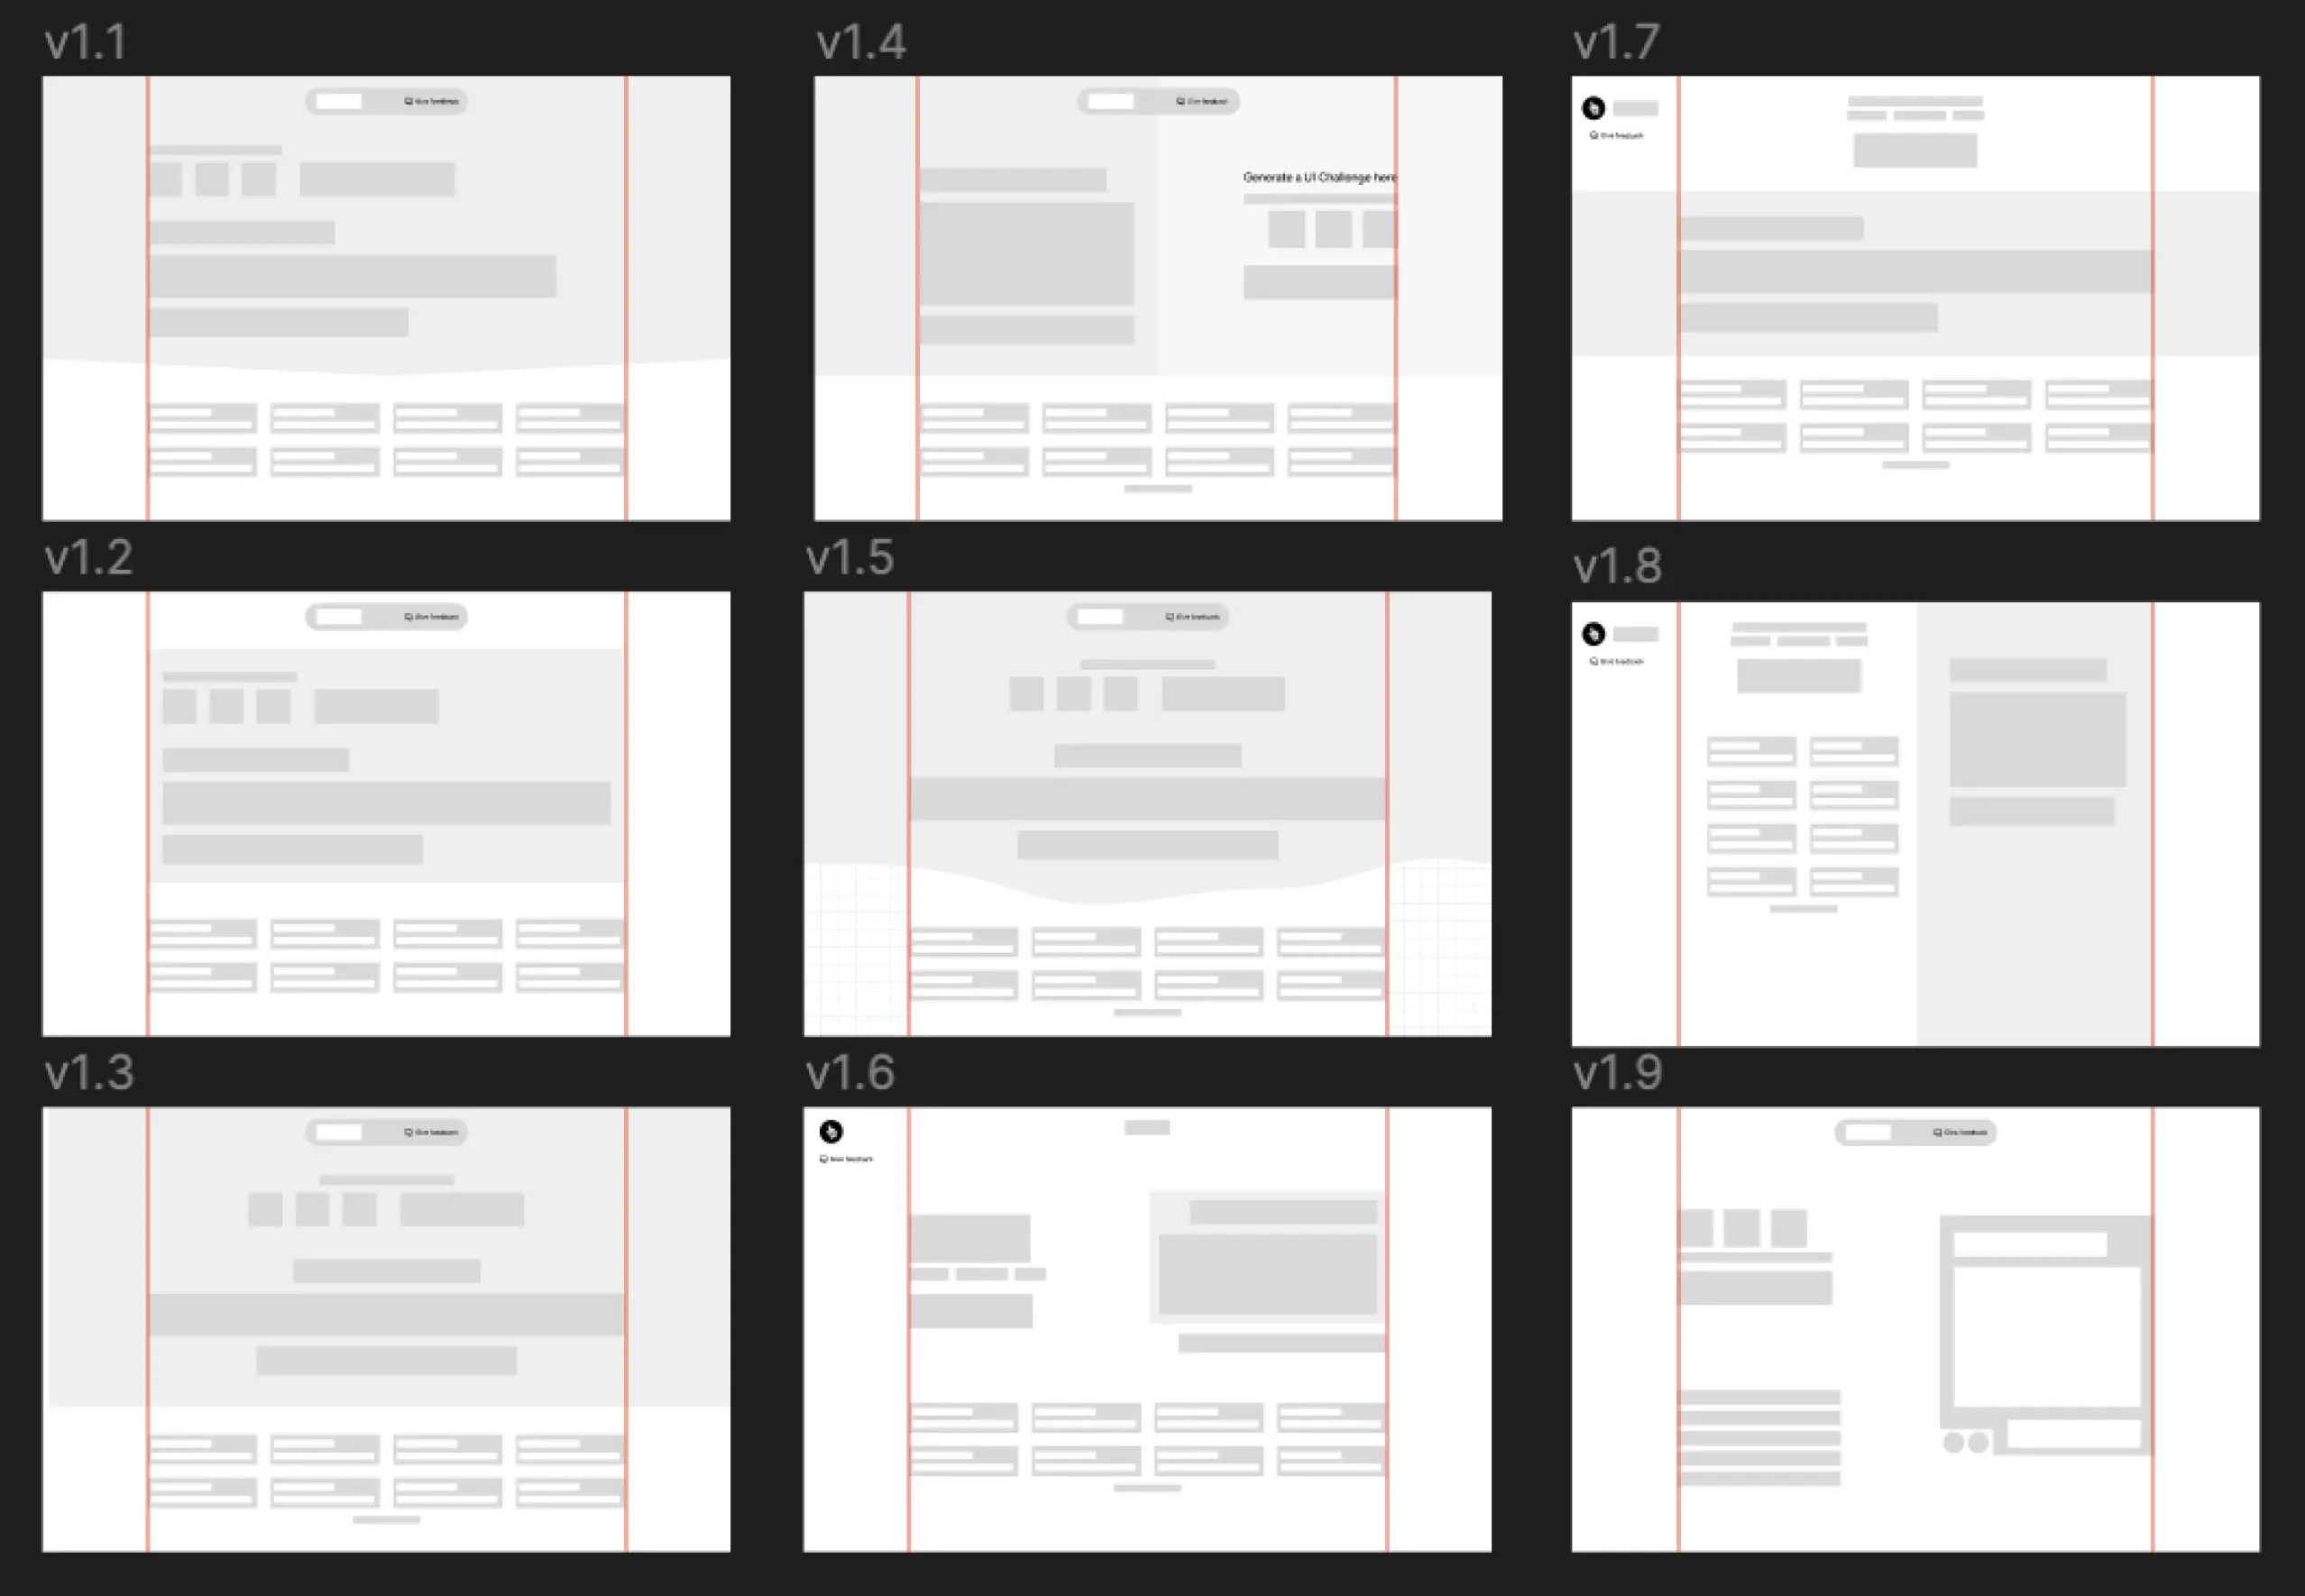
3. Wireframes
Craft a basic wireframe for your design, focusing on a grayscale, colorless layout.
This stage focuses on element size and placement, emphasizing structure over color. For larger projects like a landing page, start with a key feature, such as a call-to-action button or a central banner, then expand and refine elements gradually from there.
After completing the wireframe, pick colors using tools like Real Time Colors or simply Adobe Color Wheel to choose a palette that you will be handy in the next step.
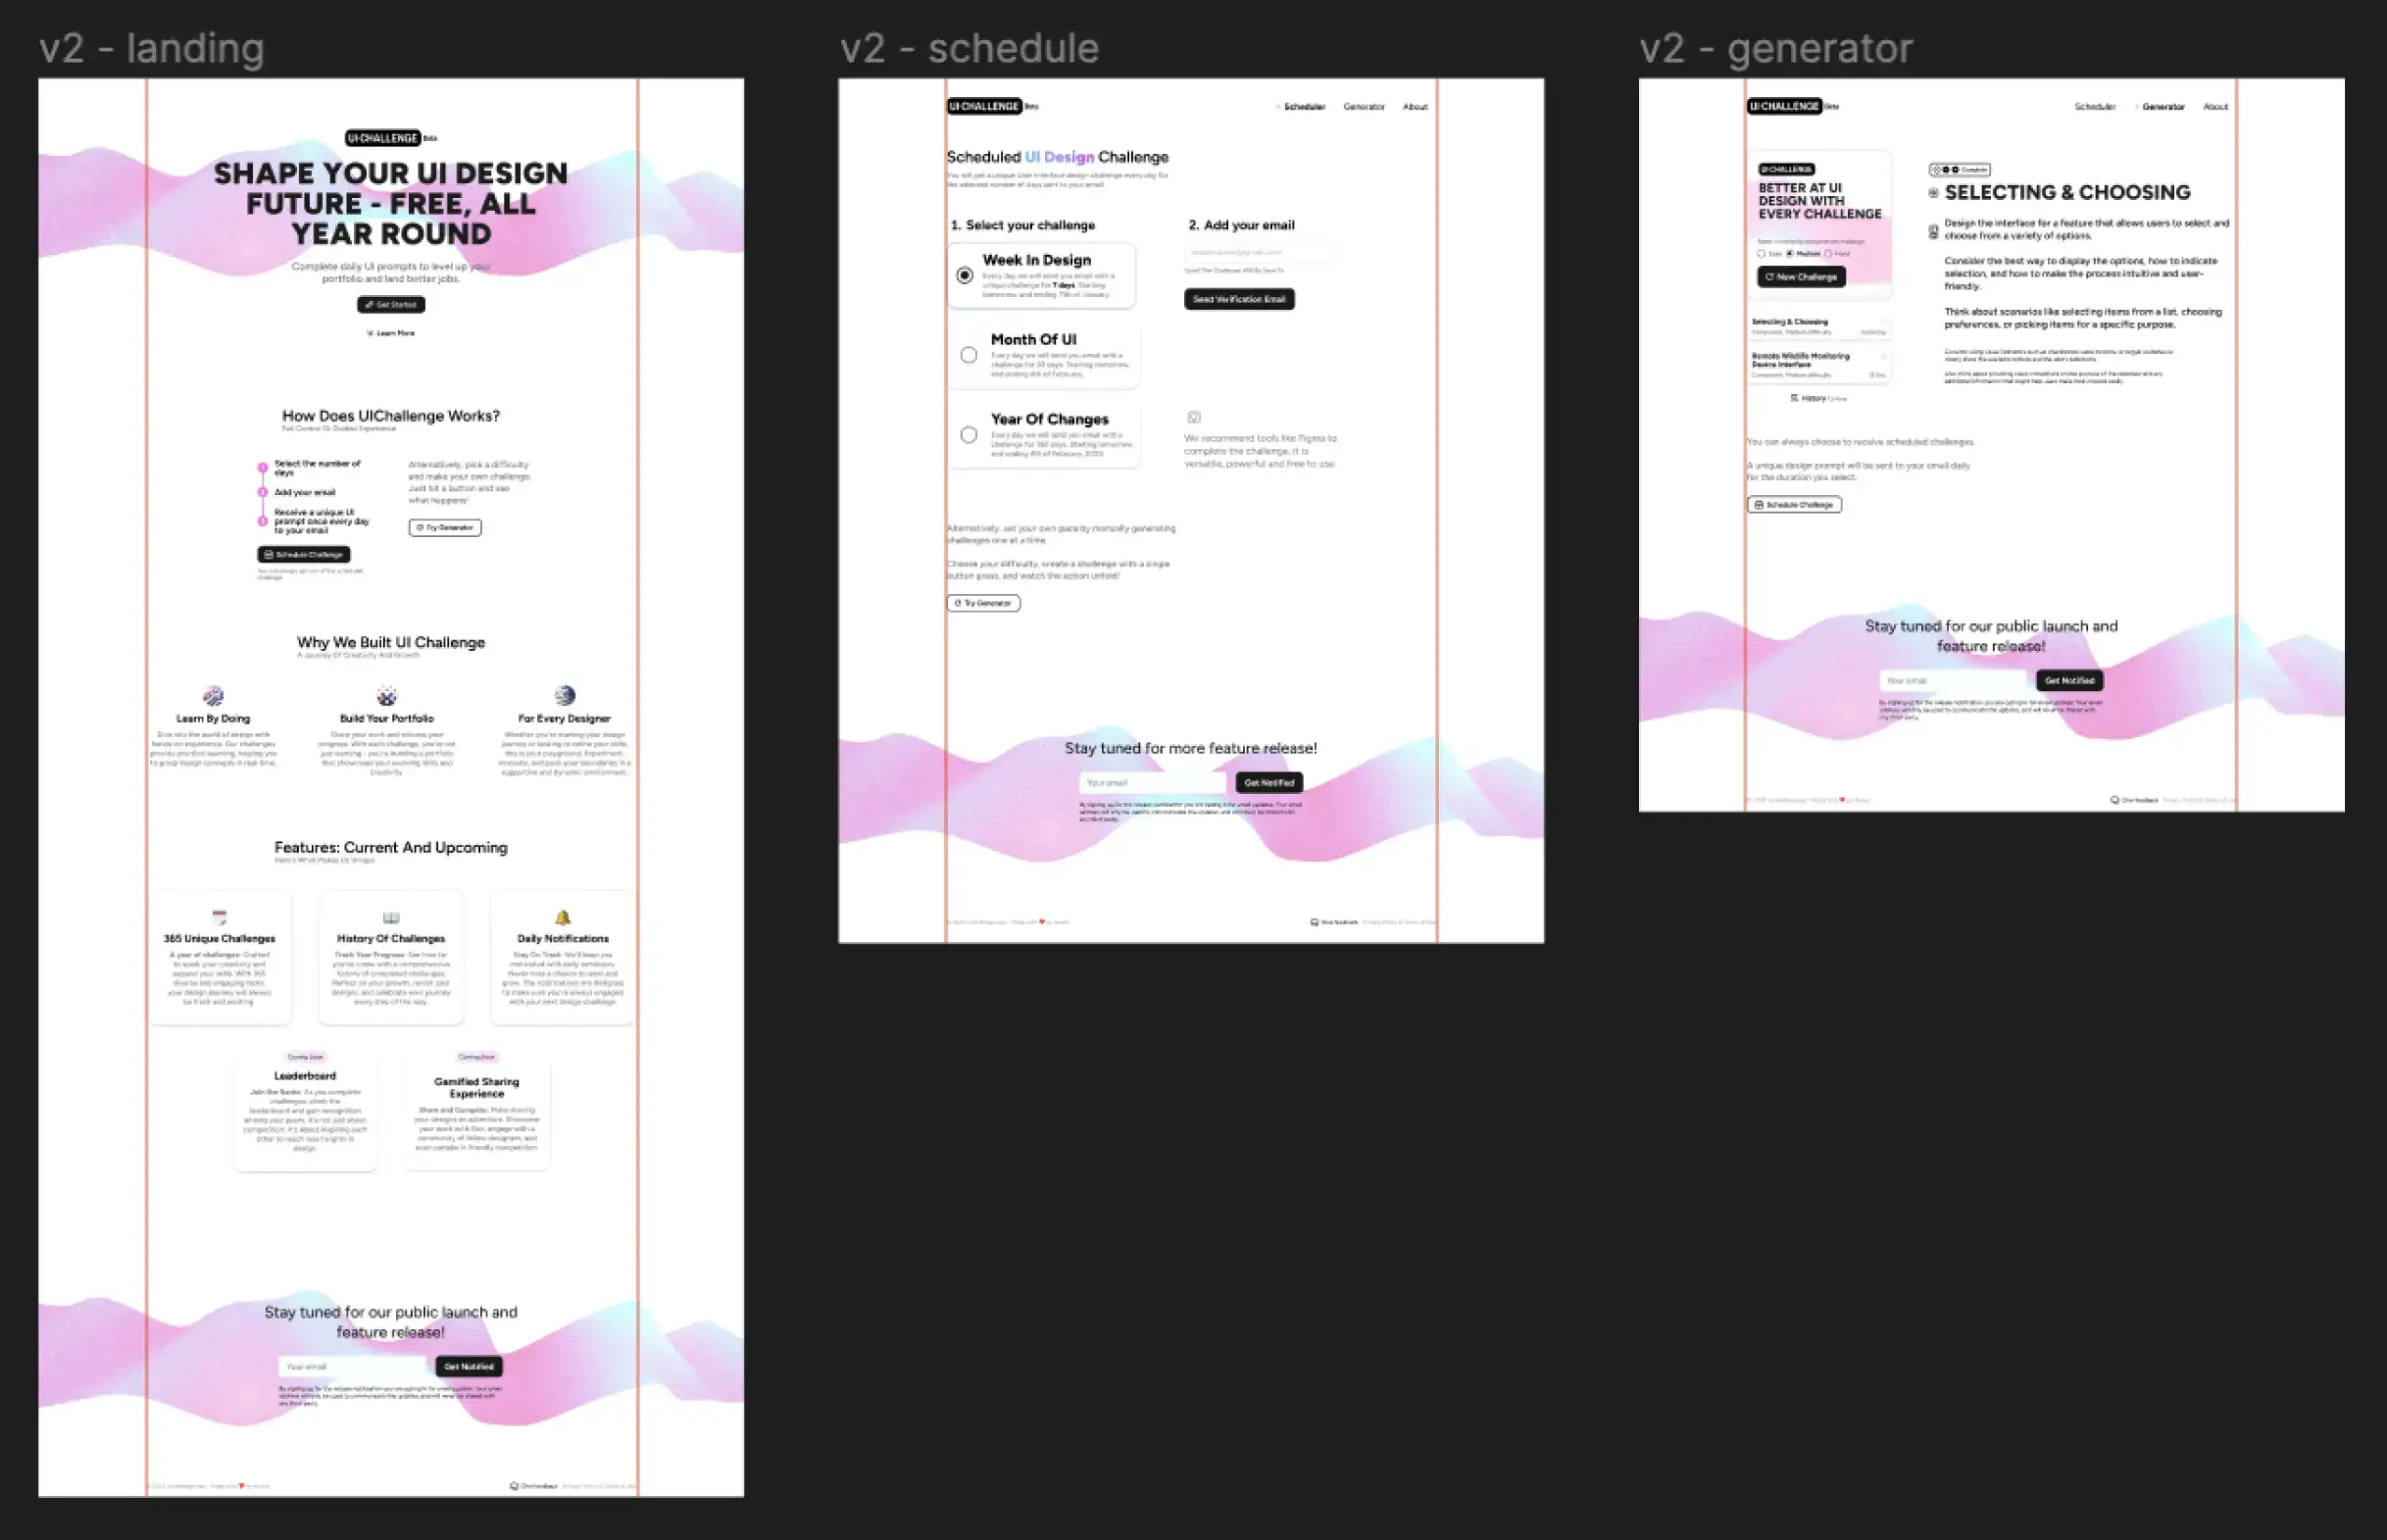
4. High-fidelity design
With all the elements in place, begin refining your wireframe.
This involves adding colors, integrating the actual text content, and adding images. This phase polishes your wireframe into a visually appealing design, nearing your final vision. Consider creating a logo and brand language.
For more refined branding and illustration, use Adobe Illustrator.
5. Usability Testing
Before moving forward, test your design with real users.
Now is the time to engage users for feedback. If you don't have access to a formal user group, involve friends or family. Let them interact with your design, observing if they understand its purpose and navigation paths. Ask for honest feedback on what they liked, what confused them, and where they would click next.
You can use Figma Prototype or just share a screenshot of your design to get feedback.
This step is crucial for identifying usability issues and areas for improvement. The goal is to ensure that your design is intuitive and meets user expectations, making adjustments based on this feedback before finalizing.
6. Iterate
Now, iterate, explore and refine what works best.
At this step, your design starts getting better. Knowing the first variation isn't always right, try making at least a few different takes on your design.
This approach allows you to compare and contrast different design elements, facilitating a more informed decision-making process. Embrace exploration and allow your creativity to guide the refinement of your design, ensuring it aligns with your vision and user needs.
The iteration process is integral to refining your design. It involves reassessing and tweaking elements based on user feedback and your own critical analysis. Continue to test different aspects of your design, such as layout, color schemes, and user flows, to increase its effectiveness and user engagement.

7. Finalize
Finally, refine your design to ensure consistency and clarity across all elements on the page.
Use one to three fonts, a main and accent color, and consistent margins, font sizes, and gutters. Aim for a simple, user-friendly design.
Limit choices and ensure intuitive navigation, creating a seamless experience like reading a book, where each element logically leads to the next.
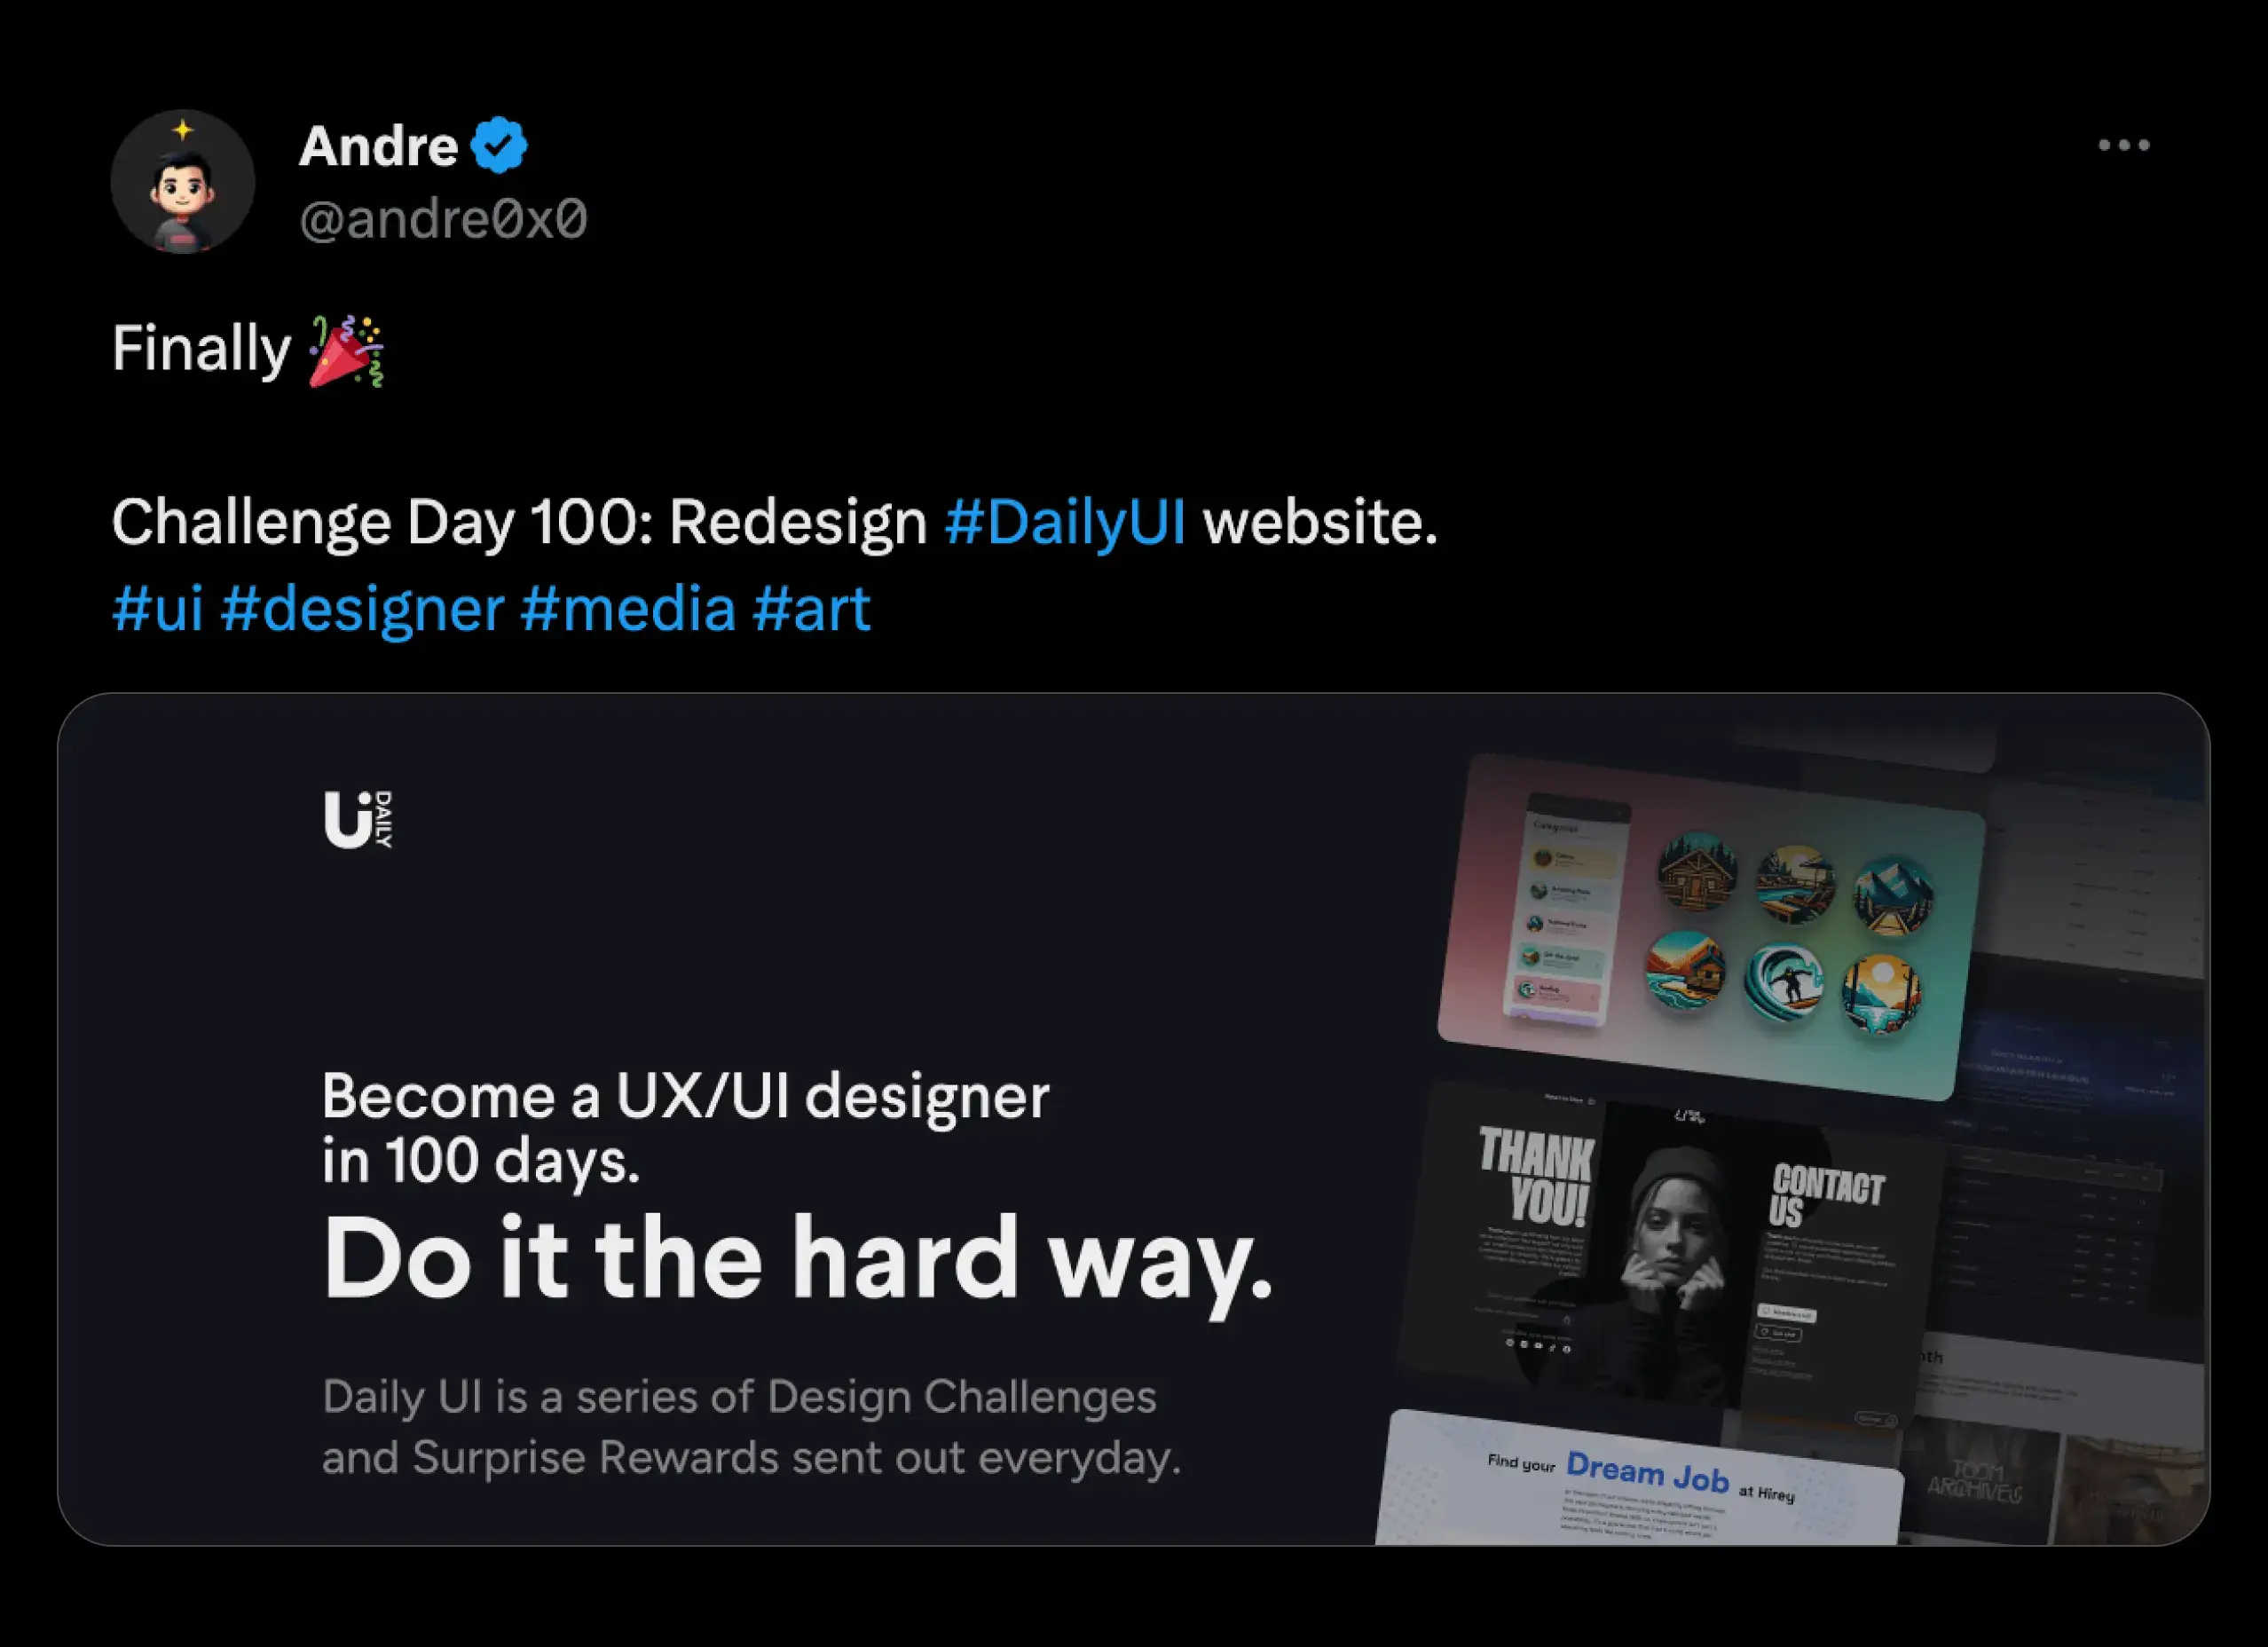
8. Share
Don't forget to share your work with the community.
Building in public is an excellent strategy for learning and growth, offering opportunities for feedback and collaboration that can greatly enhance your skills and final product. Share on Twitter or create projects or case studies on Dribbble or Behance
What else can I do?
Closing thoughts
The guide is a concise introduction to the design process, not a detailed overview. Remember, the User Experience (UX) is key and should be prioritized at every stage.
Get design challenge updates in your inbox
New prompts and challenge updates. It’s free.